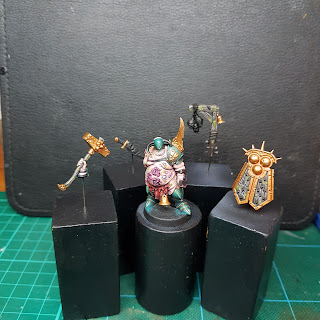
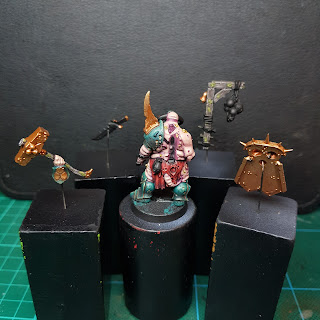
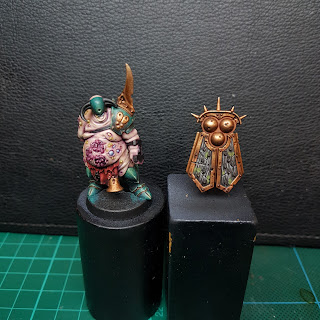
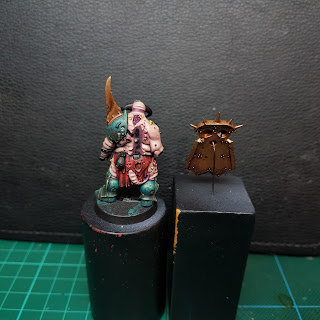
Darren Latham - Lord of Blights Masterclass - Part 06: Painting the Metal
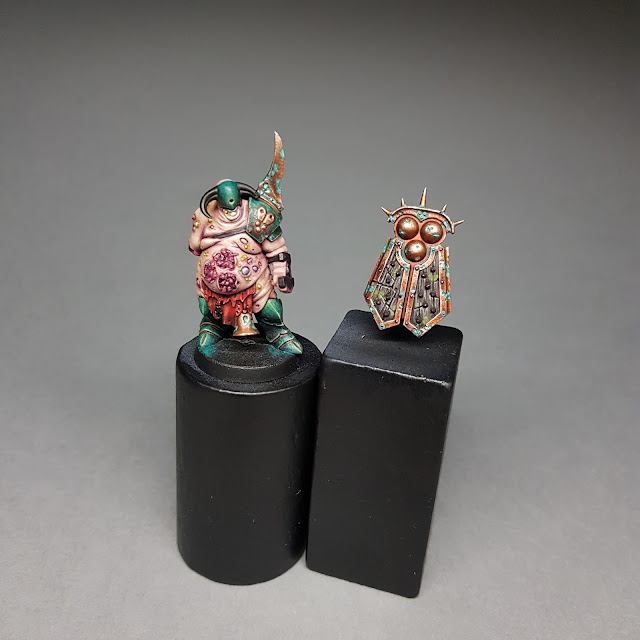
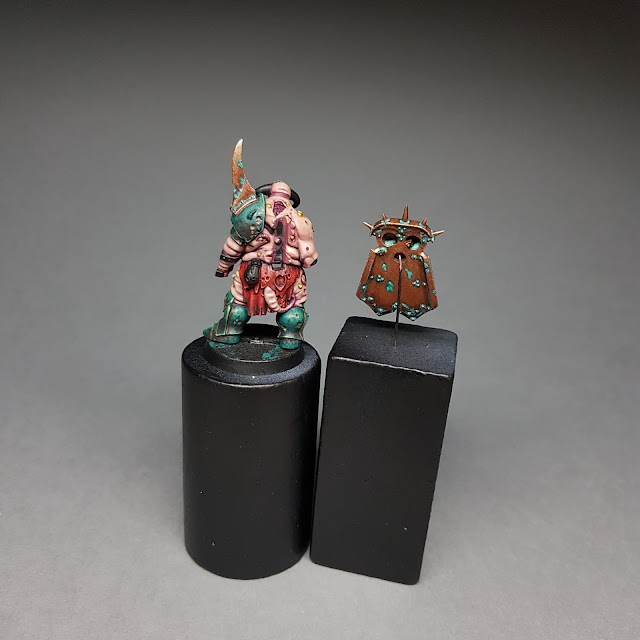
Part 6 of the series is where we tackle the large metallic areas of the figure and their weathering.
This was also the last of the large areas to paint, after this it's all small details to follow.
Getting started:
Okay first things first... I was feeling a little worried about this part in particular. I haven't really liked GW/Citadel metallic paints for quite some time and have moved on to using other brands like Vallejo and Scale75.
For the last few releases of GW/Citadel metallics all I kept experiencing was constant drying out of pots, clumping and thick graininess, splitting down into a complete mess with even the most minute amount of water...
I just didn't like them, when I have brands to hand that just work superbly right out of the pot/bottle and do everything I need them to do.
I decided to grab a couple of mediums I had to hand to see how they would change the dynamics of the paints.
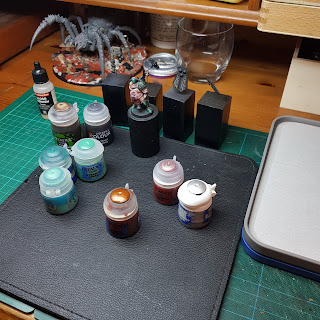
The Vallejo airbrush flow improver on the left had pretty much the same effect as water, splitting the pigment and mica flakes from the medium and being a bit of a mess, I can see how it is really useful for thinning to get pigment through and airbrush, but not what I needed for hand/bristle brush work.
But then, the little bottle of Vallejo thinner medium on the right... Well... Just a little drop and the surface tension of the metallic paint broke down and thinned instantly, without any of the problems with splitting I've had before.
I did have a couple of other mediums to try out but it looked like I had found what I needed right on the second try and so I got straight to work!
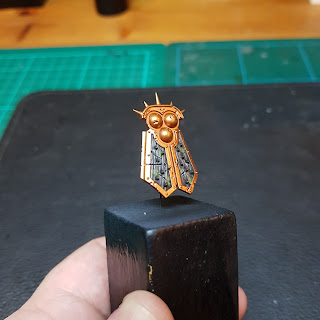
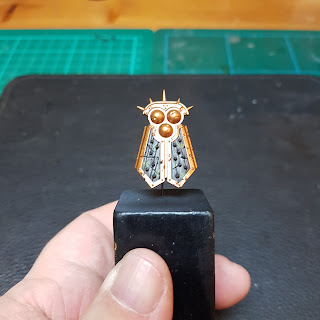
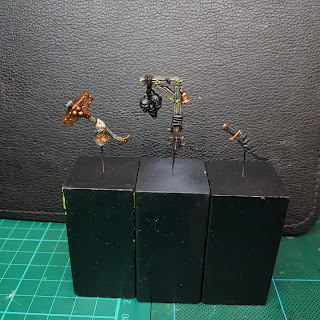
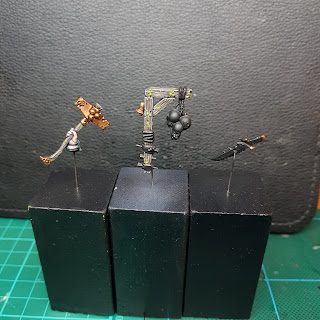
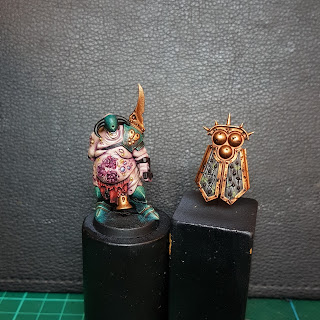
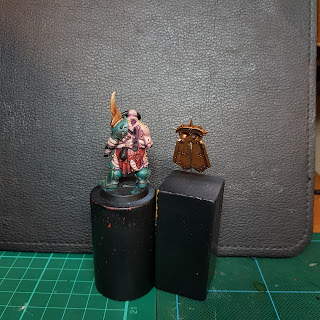
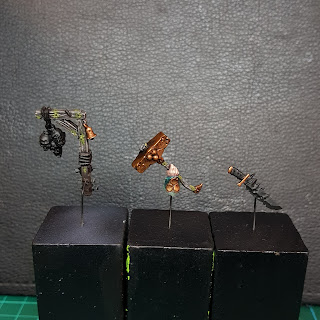
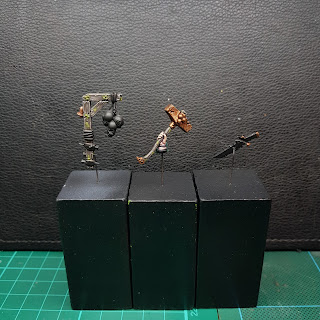
I was a bit more comfortable with it this time around after my previous experience. The brass/copper used successive mixes of lighter brass/copper stippled in multiple layers until mixing with silver for another couple of layers until using an almost pure silver just tinted with brass/copper.
This whole section starts out quite subtle, but becomes more apparent as you get some pretty dramatic shifts in tone. There wasn't really a way to talk about this step by step as toward the end you were told to just go a bit back and forth adding highlights and shading to taste, so I'll just post a bunch of successive images from working through this section.
Intermission - Video 6.5?
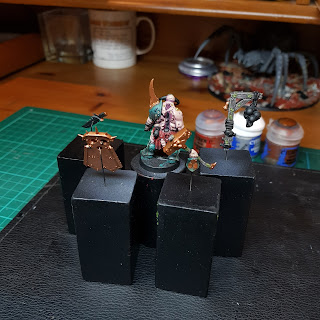
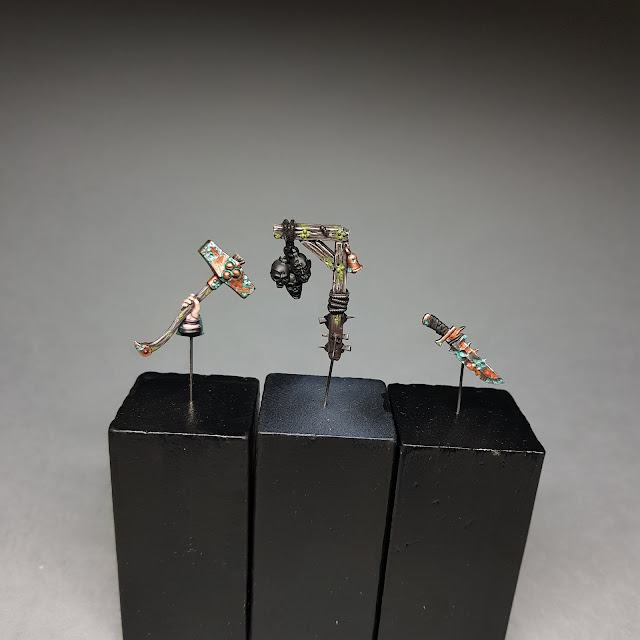
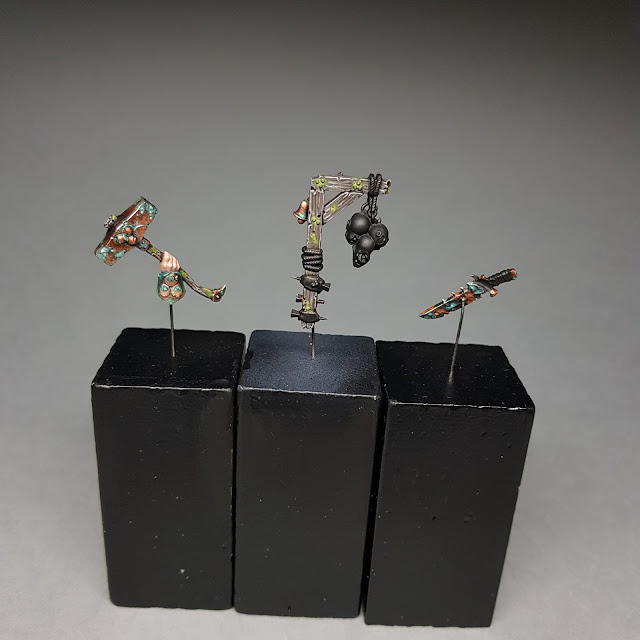
It was somewhere around this point in the video when the highlight/shading stage was done and work was already going on with the weathering that Mr Latham stated that he would not be showing how to paint the sword.
I am carrying on with the series and will continue to write from the perspective of following the videos and instead of providing links (which are about to die) I will use the thumbnails of the original videos as a sort of point of reference and maybe in a wrap-up at the end post links to all the images on Darren Latham's Instagram which is still going to continue on.
I hope you've all enjoyed coming along with me on this little journey so far, I'll be getting right on with the final parts shortly and will return to document each as they are completed.
Until then,
This was also the last of the large areas to paint, after this it's all small details to follow.
 | |
|
Getting started:
Okay first things first... I was feeling a little worried about this part in particular. I haven't really liked GW/Citadel metallic paints for quite some time and have moved on to using other brands like Vallejo and Scale75.
For the last few releases of GW/Citadel metallics all I kept experiencing was constant drying out of pots, clumping and thick graininess, splitting down into a complete mess with even the most minute amount of water...
I just didn't like them, when I have brands to hand that just work superbly right out of the pot/bottle and do everything I need them to do.
But the masterclass called for their use so I had to just suck it up and try to make them work the way I want them to work.
The Vallejo airbrush flow improver on the left had pretty much the same effect as water, splitting the pigment and mica flakes from the medium and being a bit of a mess, I can see how it is really useful for thinning to get pigment through and airbrush, but not what I needed for hand/bristle brush work.
But then, the little bottle of Vallejo thinner medium on the right... Well... Just a little drop and the surface tension of the metallic paint broke down and thinned instantly, without any of the problems with splitting I've had before.
I did have a couple of other mediums to try out but it looked like I had found what I needed right on the second try and so I got straight to work!
Just look at that! A solid and smooth coverage without any fuss at all.
And just look at the shine on it! I think I may have just convinced myself to give GW/Citadel metallics a go again in future projects!
Basecoat:
Nothing special to say about this part, just laying down a good solid basecoat of all the copper/brass areas.
Highlighting and Shading:
The highlight and shading stage really went hand in hand because there was quite a bit of back and forth. The stippling technique used previously on the armour was used again here but with metallics.
I was a bit more comfortable with it this time around after my previous experience. The brass/copper used successive mixes of lighter brass/copper stippled in multiple layers until mixing with silver for another couple of layers until using an almost pure silver just tinted with brass/copper.
Once the majority of the stipple highlight was done there was an all over wash to bring it together and dull the shine slightly. Then successive stages of stippling the wash to build up darker corroded areas.
This whole section starts out quite subtle, but becomes more apparent as you get some pretty dramatic shifts in tone. There wasn't really a way to talk about this step by step as toward the end you were told to just go a bit back and forth adding highlights and shading to taste, so I'll just post a bunch of successive images from working through this section.
 | |
|
It was somewhere around this point in the video when the highlight/shading stage was done and work was already going on with the weathering that Mr Latham stated that he would not be showing how to paint the sword.
The reason was that he already had a corroded metal video on the channel and didn't want to repeat himself. And that's fair enough. It just kind of comes out of nowhere though when you're already in the middle of the weathering section on the brass/copper.
But having watched ahead I planned for it so I could paint and weather the sword along with the brass from this point on. I also had to make an executive decision at this point too.
The colours use for the oxidisation in the corroded metal video are different from the ones being used on the brass/copper in the main video, so I decided to ignore the colour selection for the oxide in the second video and use the same colours that were being used in the first.
Mr Latham had already talked about how the colours of this figure were planned out to be complementary, using the same cool and warm colours to shade the main cool/warm colours of the figure elsewhere, so I thought my decision made the most sense and would keep the colours consistent with the rest of the figure.
Weathering:
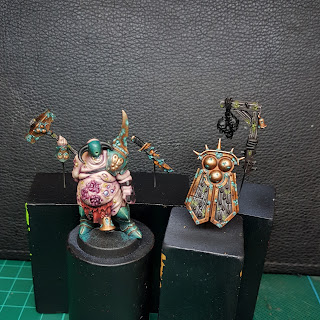
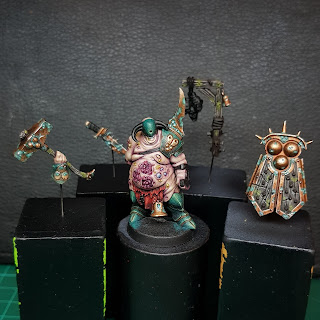
The weathering section was really quick and simple to do. Both the rust and the oxide effects were just built up from 3-4 paints watered down to wash consistency. There was a little back and forth here too to tweak the effect until satisfied.
There was even a little instance of doing a little more highlight/shade stippling either just before or just after the weathering just to bring back little points of interest.
Edge Highlights:
Then all that was left to do was the good old GW sharp edge highlight on every single edge of the metal areas (I say sharp, but you kind of stipple/dot it along some edges to add to the stippled effect going on elsewhere). Pure silver was used at this stage, even though I'm not really a big fan of edge highlighting, I think it really did bring all the metallic areas together in this instance and gave it a bit more life.
Part 06 complete:
And with the edge highlights done, part 06 is complete. And I'm pretty pleased with how it has turned out.
So... As I write this now the axe is waiting to drop and Darren Latham's channel will be deleted on the 18th of this month and taking all these videos with it.
All the parts of the Lord of Blights masterclass video series have now been uploaded and the series ends at part 10. So right now that leaves me with 4 more videos to catch up on to complete the figure and the masterclass.
I believe from this point onward it's just some small detailed areas, gluing the figure together and cleaning up the gaps/tweaking some highlights/shades and then the final video is building and painting the base.
I hope you've all enjoyed coming along with me on this little journey so far, I'll be getting right on with the final parts shortly and will return to document each as they are completed.
Until then,
Take care

