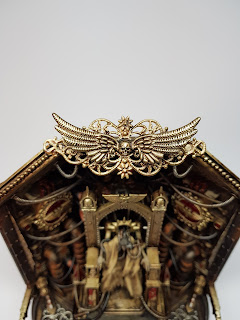
The Emperor on Golden Throne - Part 03: painting and final details
So let's get this out of the way... What colour was I going to paint the "Golden Throne"
Well, that's obvious isn't it?
I did have some considerations though, lets look at the original inspirational artwork:
I did have some considerations though, lets look at the original inspirational artwork:
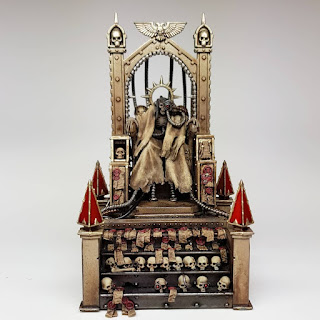
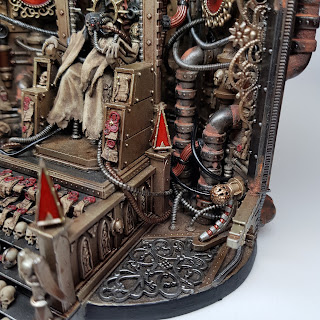
So yes, gold was going to be a thing. But in the tradition of grimdark and Blanchitsu I wanted to make it rich but toned down, grubby and rough around the edges. Overall I wanted a lot of homogeneity to the colours used to try and refer back to the shades of sepia and ivory in the art, with a rich red pop of some details.
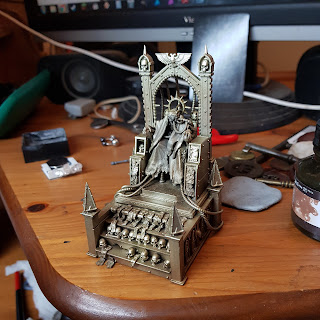
Unfortunately I didn't have any good pictures of the primed piece, too blurry by far, must have had something stuck on the lens.
But it's no major loss, just look up "zenithal priming" and you'll get it right away. I really like to use my airbrush and Stynylrez primers to prime my miniatures. And this was primed in the traditional zenithal style:
But it's no major loss, just look up "zenithal priming" and you'll get it right away. I really like to use my airbrush and Stynylrez primers to prime my miniatures. And this was primed in the traditional zenithal style:
- Black all over
- Grey from about 45 degrees
- White from above (lightly)
That was enough to prime/protect the model and bring out a bit of detail for me to see as I started to paint.
Main painting:
Still using my airbrush I planned to block in all my main colours and then tidy up with later brush-work and weathering.
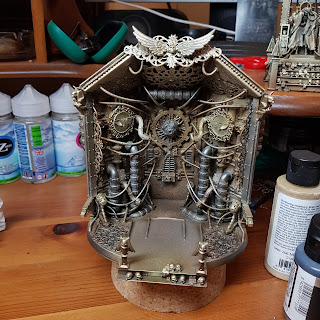
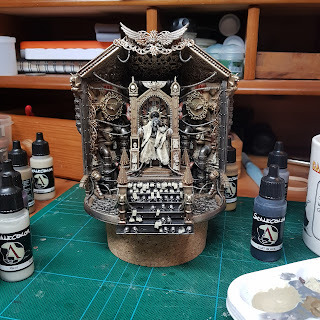
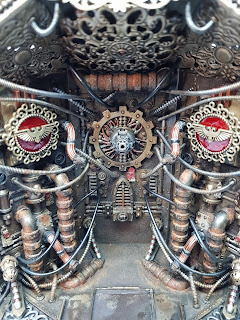
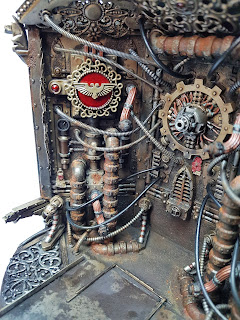
I mainly used Vallejo Metal Color airbrush colours (you can see a pot in the bottom right of the below image). These metallic paints are beautiful, they are airbrush ready, but brush on wonderfully too and the metal particles are very fine giving a very smooth and shiny finish.
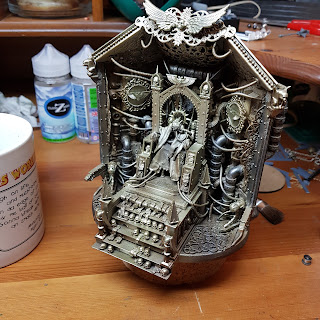
All the gold areas were built up through the airbrush like this:
- Vallejo Metal Color: Copper
- Vallejo Metal Color: Copper/Gold mix
- Vallejo Metal Color: Gold
- Vallejo Metal Color: Pale Burnt Metal
The Pale Burnt Metal just knocks the gold back down enough that it still looks rich, but old/worn.
Additional shading was added running Sepia FW acrylic ink through the airbrush and building up the shaded areas to taste.
The dark metal areas were pretty simple:
- Vallejo Metal Color: Gunmetal Grey
- Vallejo Metal Color: Steel
- Citadel Nuln Oil Gloss and Agrax Earthshade Gloss applied randomly together
The copper areas:
- Vallejo Metal Color: Copper
- Vallejo Metal Color: Copper/Pale Burnt Metal mix
- citadel Reikland Fleshshade Gloss
And that was pretty much the end of the airbrushing stage, all hand brush work from here on.
I'd just recently picked up Scale75 Scale Colour paints to try out some time before this project. I was intrigued by their ultra matte finish and this was a perfect time to use them. The contrast of matte and shiny materials was something I really wanted throughout this piece.
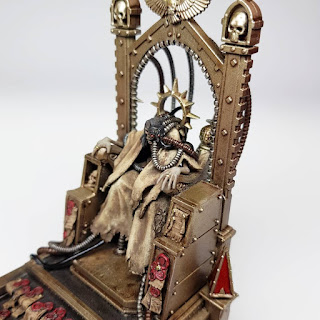
The Emperors robes were built up over many stages of wet blending and stippling tan and ivory colours to get the rough old look I wanted.
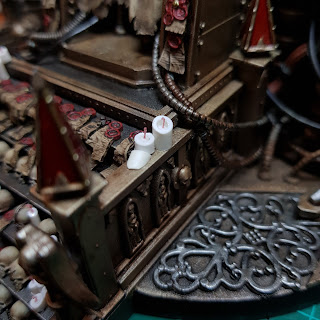
The glossy red areas were painted with Tamiya X-27 Clear Red thinned with a little Tamiya thinner. This glossy pop colour next to the sheen of the metal and the matte fabric and skulls was everything I thought it would be. Really loved getting that colour into the diorama.
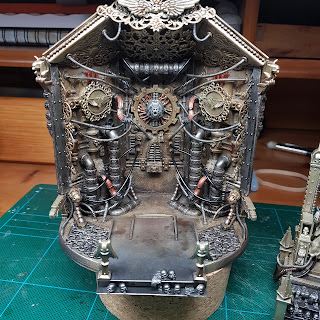
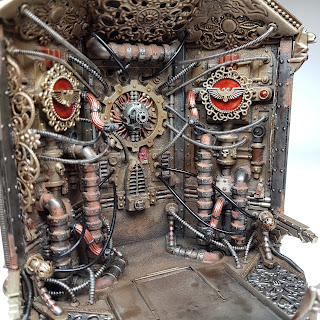
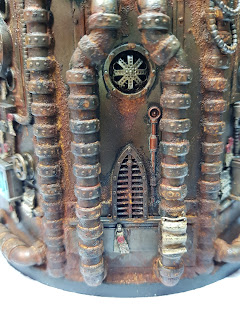
At this stage I started to use some of AK Interactive's Rust Streaks I believe to start blocking in the rusty areas to finish off later with the true weathering step. This was more like just sketching in the rust colour so I could see the balance of it and where it would be later.
Adding the candles:
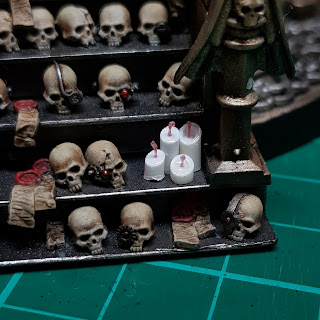
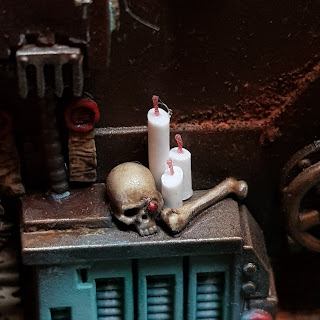
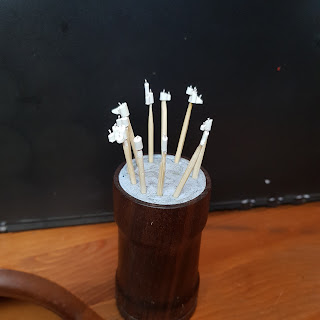
So there was one last detail I had to build and paint for the diorama. Candles. I wanted to have some semi-realistic looking candles in miniature form, but I didn't know how to accomplish that, hence why it was left so late in the project to do.
The following is a link to t tutorial I made to show how I went about creating the candles I wanted: Candle Turorial
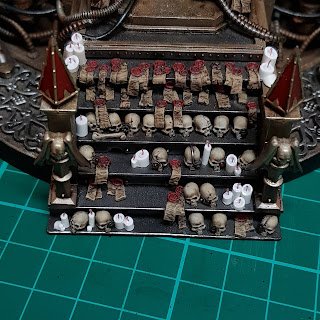
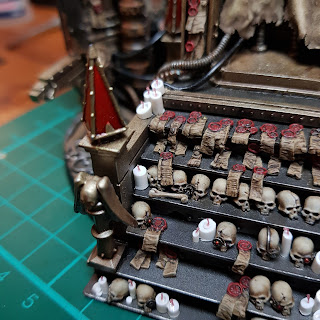
these were all glued in clusters and painted separately from the diorama, then glued in place and the additional "wax" added.
At this point the diorama was completely built and painted. all that was left to do was a final pass on details and bring everything together with some final weathering.
Final paint and weathering:
The final stage was making sure I had highlights where I wanted them, clean up any areas that might need it. and generally to bring everything together and push the contrast a bit more.
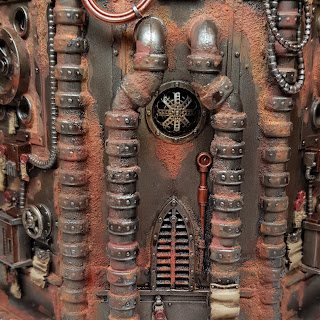
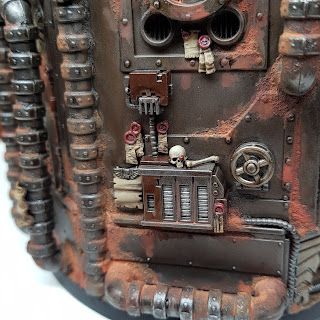
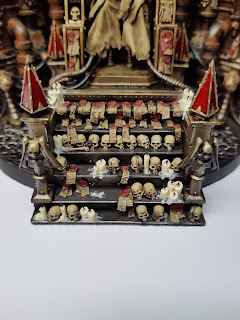
My main tools at this point were a few inks/washes, oil washes and AK Interactive Streaking Grime enamel wash. Just pushing those shadows, stains and bringing everything together in value, as I stated at the beginning of this post, to try and give that overall sepia image look with that pop of glossy red.
Some little bits of the rust and oxidised areas got a little touch of my almost depleted Hobbymates rust and oxide special effects fluids to give them a bit of life.
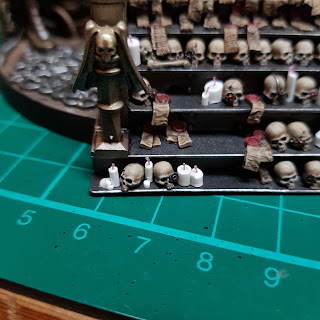
The skulls here are painted the way I do all my skulls. Paint them a bone/ivory colour, maybe an edge highlight if I'm in the mood, wash neat streaking grime on and let it almost dry, use white spirit and a cotton bud to remove the excess. That's it.
It was actually a really simple thing to paint. I remember John Blanche writing in the citadel modelling guide that an intricate conversion really benefits a simple paint scheme. I kept that in mind the whole way through this and I couldn't agree more.
There is so much detail in the underlying diorama that a quick, simple paint scheme really brought it all together.
And that was it. Painted over two evenings. The mind boggles, I can't usually paint a normal figure over two evenings (I'm terribly slow at times), but the excitement and engagement of this piece really kept me going.
So that's the end of my step-by-step on how I built and painted the emperor on Golden Throne.
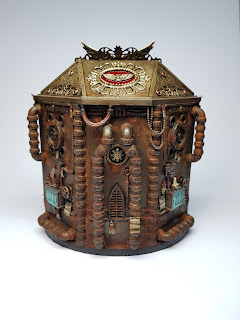
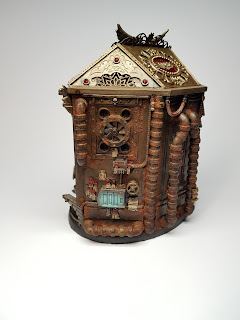
I did later take some much better pictures which you will find in a link below.
Thanks for coming along for the ride, take care.
Part 01: Building the main structure
Part 02: Detailing the diorama
Part 03: Painting and final details

