Darren Latham - Lord of Blights Masterclass - Part 03: Painting the Armour
Part 3 and painting the next largest area, the armour. Mr Latham would now go on to teaching us how to paint the armour to look like the armour was a completely different material from the skin by building up many layers of stippling glazes.
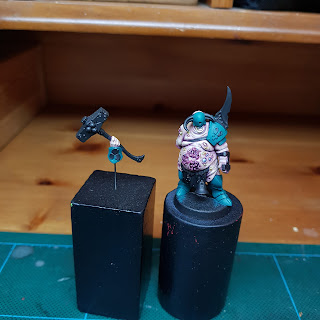
Gods just look at that armour in the thumbnail, bloody gorgeous!!!
First a solid basecoat, well that was simple enough. Again built up from multiple thinned layers... I didn't count them... Just let myself relax and paint away.
see you in the next part, take care.
 | |
|
Gods just look at that armour in the thumbnail, bloody gorgeous!!!
A wash was applied to all the armour to bring back the definition and to slightly tint the base colour.
Using the same colour from the wash the first layer of stippling to build up the shadow areas began.
more stippling of the shadow areas and building up to mid tones. At this point it started to become aparent that I was having some problems keeping the right dilution of the thinned paints again, too thick or too thing and breaking down.
I was also having a few problems with brush control at this point. i think I applied some of the stippling a little too heavily, that or maybe a layer where the paint may have been a little too strong.
Here's the moment I made a hard decision... I had started to get a handle on the dilution of the paint and my brush control had improved as I was worked.
But I was nearing the end of the tutorial and it just didn't look right to me, I wasn't happy with the work I had done thus far and made the decision to start all over again, right from the basecoat.
And here we are back at the same point I was before, but overall much happier with the way the stippling had turned out the second time around.
The final section of this part of the series was to glaze in some rust washes for a bit of warmer colour and to define some of the details. This part didn't take very long at all, I was pretty comfortable with this, since I do rust washes/glazes quite often anyway.
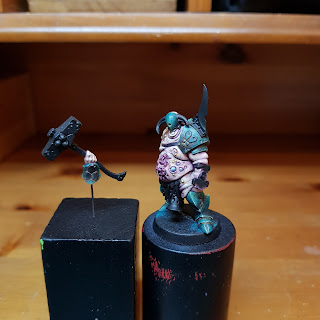
And the following images are the miniature by the end of part 3.
It was right about this point that I was really, really enjoying myself. I was impressed with how it was coming together and actually really liked what I'd managed to do following this series so far.
see you in the next part, take care.


